
So, let the sprucing and painting commence...

*The essentials (shown above) are:
Nail File
Cuticle Tool
Nail Clippers
Nail Scrubber
(all mentioned above and other tools not shown are from Tesco for £3 or so)
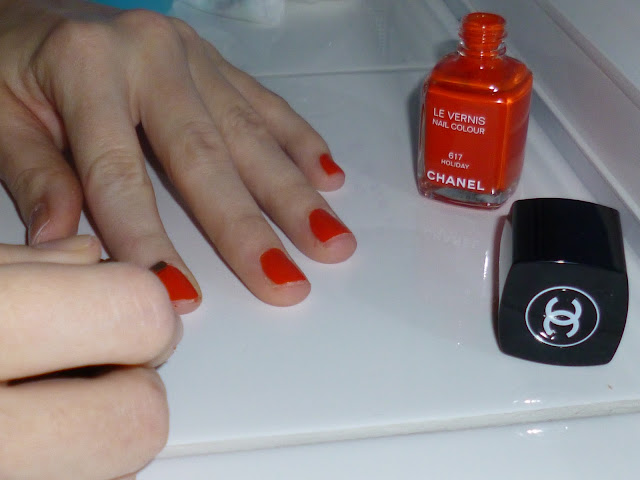
Chanel (Holiday) Nail Varnish
Sally Hansen
Nail Varnish Remover
Cotton Pads

Firstly I scrubbed my nails so that they were clean before I started shaping and polishing them. This is important to do even if you are going to cut your nails as they are prepped for the following stages. Maybe because I'm a tad OCD I enjoy scrupulously cleaning my nails until they are clear.
Next I cut my nails because I can't stand having long nails, they always seem to break or get in the way.

I then pushed my cuticles back so that the nail varnish would look more smooth. For some people this is a big no no, as the sensation of pushing back your cuticles can apparently give you the creeps.
I then buffed my nails to get rid of any bumps and cracks along the edges of my nails. This is a really great technique to make your nails look as if they've been professionally manicured at the salon.

I then filed my nails down to give them a nice curve and get rid of any blunt nail clipper cut lines. Keep focused on the shape you want to achieve as you don't want to file one nail too short!!!

This step is very important when using nail varnish as it prevents the nail from becoming stained by the colour of your varnish and smooths over any remaining bumps.
This is usually where I get my sweat on, I find this quite tricky to do as you want your nails to look flawless, especially when I am using Chanel nail varnish!
So how to do this, the key to the trick is to have a steady hand, make sure there is not too much/too little varnish on the bristles and slowing paint making sure with each nail that you cover all the required areas.

Again, using the Sally Hansen Double Duty, brush a layer of this over each of the dried nails. This will mean that you will have a flawless finish for longer.
AND don't forget, let the varnish dry completely otherwise you may have to redo some nails.

Although this takes quite a while to do, it is a must around the holiday season when the purse/bank account is looking like it's seen better days. Don't let your nails to look the same!
BY KATE.
No comments:
Post a Comment